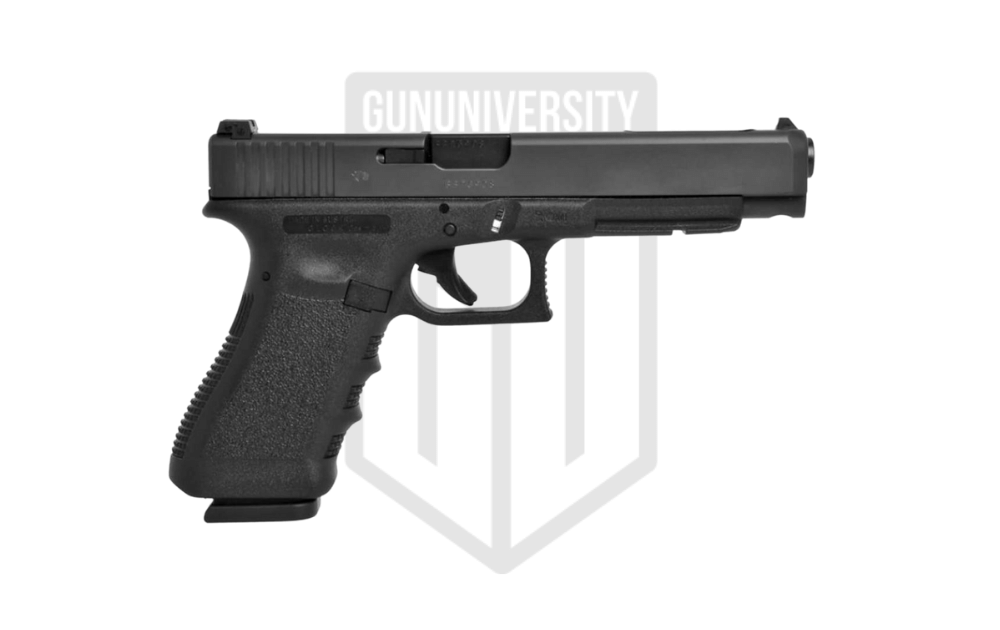
How to Change Glock Sights
If you purchase a Glock with the factory plastic sights, the absolute first thing you should do is change your Glock’s sights!
Glock pistols are known for a few things: absolute reliability, near flawless magazines, simple functionality, easy maintenance, and junk factory sights. ????
We’re often asked which Glock sights we recommend and how to change the sights on a Glock. So, when I picked up a new Gen5 Glock 19 and needed to change the sights, I figured it would be a perfect time to walk you through how to change a Glock’s sights as I did it on my own.
Hopefully you learn some tips and tricks that help you the next time you want to change your sights. Heck, if you’ve got your own tips to share, don’t be shy! We’ll start off here with the tools you’re going to need to change your Glock’s sights, including links to some of my favorite sight changing tools, then go step by step on how I change sights on a Glock.
Changing A Glock’s Sights
Replacing a Glock’s iron sights (fixed sights) is fairly straight forward:
- Drift (slide) out the old rear sight
- Drift (slide) in the new rear sight
- Unscrew and remove the old front site
- Screw-in and install the new front sight
The only thing you’ll need to change your Glock’s sights are a Glock pistol, your new sites, a place to work, and some basic tools.
Tools For Changing A Glock Sights
You’ll need a couple of tools to change your sites – you can go basic/generic on your tool selection (a good idea unless you do this a lot) or you can get specialized tools to make the job of changing your Glock’s sights even easier.
- Universal Bench Block
- Glock Front Sight Tool
- Brass/Aluminum Drift Punch
- Tack Hammer
- Gun Oil
- Loctite Blue
- Calipers
- Sights
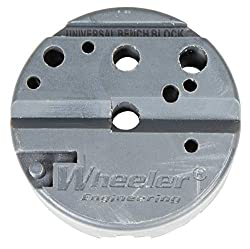
Universal Bench Block
Using a bench block can make just about all of your gun repair and maintenance operations 10x easier. They provide a stable working surface to cradle your firearm as you poke and prod at components. Bench blocks also make punching operations quicker and much less damaging to your gun’s pieces and parts.
OUR RECOMMENDATION:
Glock Front Sight Tool
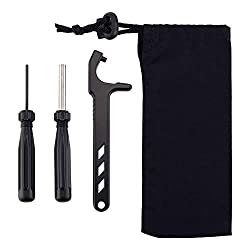
When you go to change out your Glock front sight, you’ll notice a little hex screw. And you’ll need to have a specialty Glock front sight tool to firmly operate it. Fortunately, these tools are very cheap to purchase and a necessity for any Glock owner.
OUR RECOMMENDATIONS:
Brass/Aliminum Drift Punch
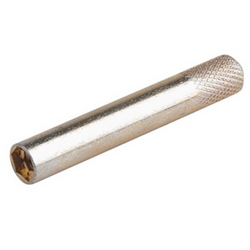
When working on any gun (not just your Glock), you might run into pins that can only be removed with a punch and hammer. No problem there, but you want to make sure you’re at least using brass or aluminum punches. And that’s because they are softer metals that the steel your gun is made of. They won’t damage the pins/components or mar the surface of your gun.
OUR RECOMMENDATIONS:
Tack Hammer
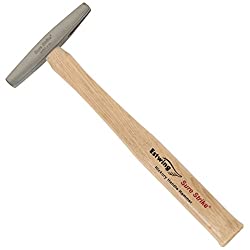
There are so many different types of hammers out there. However, the one best suited for our needs is a tack hammer. Tack hammers are purposely designed for nailing or pounding in small screws or pins.
OUR RECOMMENDATION:
Gun Oil
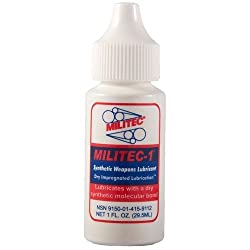
Gun oil is an absolute necessity when it comes to owning a firearm. You’ve probably already got a few bottles already. It’s great for helping things stay clean and lubed up.
OUR RECOMMENDATION:
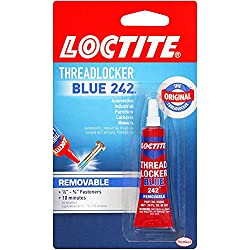
Loctite Blue
Loctite is a thread locking compound that you’ll apply to threaded screws while changing out your sights. This is critical to retaining your sights in place because the vibrations caused by your Glock may jar–even if ever so slightly–your sight placement. Loctite keeps them firmly in place. And there’s no need to worry about it being permanent. Your screws can still be removed with hand tools.
OUR RECOMMENDATION:
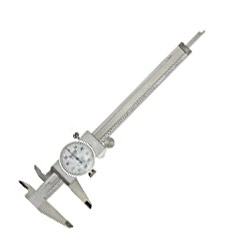
Calipers
When it comes to getting precise measurements for your sight spacing or zeroing them in, you’re going to want a good pair of calipers. I’ll be honest, they have a bit of a learning curve when it comes to using them as compared to a standard measuring tape. But they are invaluable when it comes to making precision measurements. They come in both mechanical and electronic readout varieties. The digitals are much easier to read; however, mechanical calipers can provide a more rugged tool.
OUR RECOMMENDATION:
New Sights For Your Glock
The three main types of “iron sights” for you Glock pistol are standard sights, fiber optic sights, and night sights. Further, the sights can be broken down into more categories by height (standard height or suppressor height which are taller than normal to allow their use over a silencer) and fixed vs adjustable sights which have the ability to make small adjustments in elevation and windage.
If you’re looking for competition sights, fiber optic front sights with large adjustable rear sights are popular. However, if you’re more interested in defensive-use sights, then you should consider fixed sights (more durable) with some form of night capability (either nights sights or combo night and fiber optic sights).
Standard sights (no fiber optic or tritium, the chemical used to glow at night in night sights) are usually less expensive.However, if you’re changing your Glocks sights, you might as well upgrade.
Fiber optic sights are very bright in daylight and they can be made fairly thin which is why they’re popular for competition. However, they are not very effective as night sights. I really like Dawson Precision sights for this.
Tritium night sights contain a small vial of radiation that glows so that they can be seen at night. These are great for night time but can be so dim during the day that you can’t see any glowing at all. This is why combination sights are popular that mix fiber optic for day use but also have tritium for night time good examples of these are VTAC sights and Truglo TFO sights.
My favorite night sights so far are Ameriglo HD sights. However, for this Glock, I went with the orange Night Fision dome model sights. They seem like great sights, and come in a variety of colors, but I just got them so a full review is coming soon.
There are plenty of quality sight options for your Glock: you can’t really go wrong with anything by Trijicon or Ameriglo. Also, VTAC and Truglo make some unique sights that mix the benefits of fiber optic and tritium.
How To Change Glock Sights: Step By Step
Once you’ve got your workbench ready and your tools prepped, it’s time to get down and change out those factory sights.
STEP 1: UNLOAD AND DISASSEMBLE PISTOL
As always, make sure your weapon is clear, so no magazine inserted and nothing in the chamber.
Pull the trigger, while pointing the Glock in a safe direction, then pull the slide back a bit and pull down the takedown lever to allow the slide to come off the front of the frame.
You only need the slide now so you set aside the frame, recoil spring and barrel.
STEP 2: REMOVE REAR SIGHT
The rear sight is really easy to knock out. I just use the bench block for this step. Because these sights are easy to remove, I just hang the slide off the side a little bit. If you ever need to knock out something tougher, the block has a lot of different holes and options to help you out.
Although unnecessary, I use the aluminum punch next. Just line it up on the side of the sight, be careful to avoid the slide, and pop it out. It’s not a bad idea to keep a few sights on hand so you can keep it, or throw it away.
STEP 3: INSTALL REAR SIGHT
First you need to make sure it’s going to fit. The plate on the MOS model can sometimes get in the way. Of course you want to put it in the right direction, with the dots facing the rear. How can you tell if it’s a perfect fit? The sights will sit flush, or almost flush, with the rear of the slide.
If you’re worried about your countertop or protecting your work surface, next you can set your slide back on the bench block. If the sights are tough to get in however, which the rear tend to be, it’s much easier not to use the block at this point. It also helps to give it a drop of the oil.
You can use aluminum punches like I do, or brass, but I recommend you do not use steel because steel-on-steel will leave you with a marred slide. The aluminum punches are fairly soft and if marks are left, they’ll wipe off.
If your gun is zeroed then you can use the caliper to measure the offset of the sights. This isn’t necessary, but you might be able to keep it zeroed. Keep in mind that how much the sight offsets to each of the sides will vary with different sights.
This means you have to measure both sides, to figure out the delta. Write it down so that regardless of the new sight measurements, you just measure the rear end and no matter the measurements, apply the delta.
If it’s not zeroed, you just center the sight on the slide. Then using your punch you just keep adjusting the sight as needed, checking the measurements of each side with your caliper, until it’s centered. If you’re planning to zero it later, you don’t have to worry about perfection at this point.
It just needs to be close enough to centered that you can take it out to the range, along with your tack hammer and punch, and zero it!
STEP 4: REMOVE FRONT SIGHT
The front sights on Glocks are held in by hex head screws. This is where the front sight tool comes in very handy. It’s thin enough to fit, unlock sockets, and the edges are flat which helps avoid stripping the screw. These things cost about $5 at most and they’re totally worth it! With the screw out, the front sight should easily pop out. If it doesn’t, just use your punch to drift it. I don’t save the plastic screws, but of course you can if you want to have backups.
STEP 5: INSTALL FRONT SIGHT
Making sure it’s in the right direction, insert the sight into the front of your slide. Most sights will go in easily, but some may need a light tap into place. The screws on some sights come with Loctite Blue already on them, but regardless, I always put a little on myself.
It’s up to you.
You can choose to trust that it won’t come loose, or take the extra step to ensure it doesn’t. I just set the screw into the front sight tool and they’re tiny, so don’t worry when you notice the top of the screw is barely showing. Then I squeeze a tiny drop right onto the threads.
Always remember you only want to use the blue because it’s not permanent like the red is. Holding the front side in place with one hand, I use the other to line the front sight tool and screw up, and give it some torque until it’s nice and tight.
STEP 6: REASSEMBLE PISTOL
Now it’s time to grab your spring, barrel, and frame, so you can put it back together and head to the range to test out and zero your new sights!
Don’t forget to bring your drift/punch and hammer to the range so that you can make adjustments to the new sights to make sure that where you’re aiming is where you’re hitting.
Recent Posts
February 5, 2026
January 31, 2026
January 30, 2026
January 29, 2026




![Best 9mm Pistols [2026]: Ranked by Size & Use](https://gununiversity.com/wp-content/uploads/2021/09/Best-9mm-featured-1.jpg)
